Showing posts with label Tutorials. Show all posts

Thursday, July 14, 2011

How to Make a Pillow Form {a free tutorial}

I have been on a little bit of a pillow making kick lately. I love that pillows add so much to a room and are pretty quick to make. I have a few pillow tutorials that I'm going to be sharing soon, in the mean time I wanted to share how Kathleen and I make pillow forms that will stay full.
 Materials needed:
1 bag of Shredded Foam
1 Yard Hobbs 80/20 Batting (or similar batting)
 **For a nice full batting we suggest that you make your pillow form two inches LARGER than your pillow. I am making an 18" pillow so I will make a 20" pillow form.**
Cut two batting squares 20"x20".
 Sew all the way around three sides of the batting squares. Leave about a 10" hole on one side.
Stuff the Shredded Foam into the pillow form. We like pillows to be very full so for an 20" pillow form we added 1 cubic foot of Shredded Foam.
Top stitch closed.

It's that simple, the super nice thing about making pillow forms this way is they will stay full for a long time!

Thanks for visiting our quilting blog!
Have you checked out our patterns recently?
For more fun updates sign up for Piece N Quilts newsletter.
Leave a comment, we'd love to hear from you.
~Natalia
{Connect with us}
youtubei pinterest

Monday, June 6, 2011

Spider Web Star Quilt Block {VIB's block exchange}

Megan's month in my VIB's group is June. Her idea for this month was modern patriotic with the Red and Aqua theme. She sent us a bunch of red and aqua pieces of fabric.
I've always wanted to  make one of these spiderweb blocks but I couldn't find a tutorial so I just made up my own, I'm sure there are much easier ways to make this block but here is how I did it. :)
I laid all of the fabric pieces on top of each other.
Then I chopped them up into strips.
I sewed those strips together in random order and size.
Then I used these templates and cut those strips into pieces.
Four pieces from template B.
and four pieces from template A.
and four white pieces from template C.
Then I started sewing, I sewed the four pieces to the left sides of the white blocks.
and then sewed the other strip pieces to the right sides of those four white pieces.
Then I sewed those pieces in sections into two sections.
And then all together into one super cute spider web star block.
But.... Because of the sizes of the pieces of fabric that I had I needed to add borders to make the block 16"x16", instead of 10"x10" like I had.
Here is how the block turned out, super cute and I'm pretty sure I didn't waste a single piece of fabric :)

Thanks for visiting our quilting blog!
Have you checked out our patterns recently?
 For more fun updates sign up for Piece N Quilts newsletter.
Leave a comment, we'd love to hear from you.
~Natalia
{Connect with us}

youtubei pinterest

Saturday, May 28, 2011

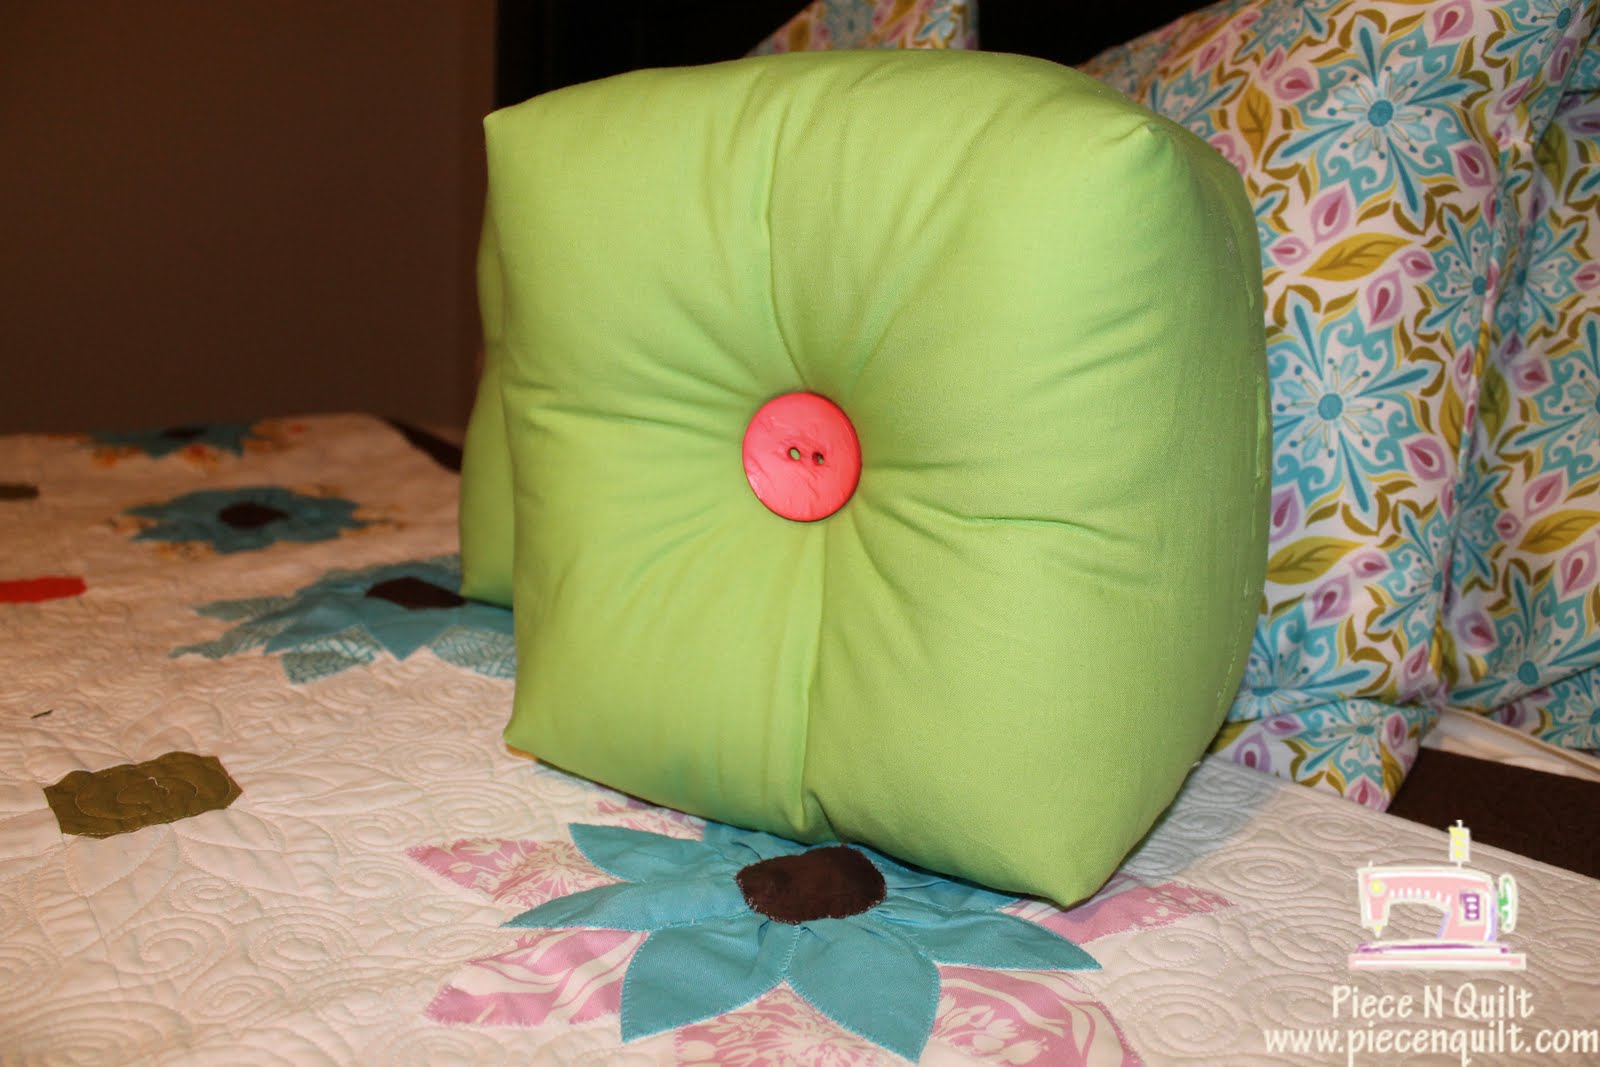
Cubed Pillow {free tutorial}

10"x10"x6"
Materials needed:
1 - 16"x16" pillow form
1/2 yard solid fabric
2 large buttons
Cut two 16"x16" squares.
Lay the two pieces right sides together.
Sew around three sides. On the fourth side sew the two ends leaving an 8" opening in the center.
After sewing you will take the corner of the pillow, still inside out. Line the seams up to make a nice point. Measure 3" from the point.
Draw a line across the corner at the 3" line.
Sew across that line and then trim 1/4" from the stitch line. Repeat this process on all four corners.
Stuff the pillow with the 16" pillow form. Make sure to work the form into all of the corners.
Hand sew with a running stitch the 8" opening closed.
Use an extra long needle and sew the buttons onto the center of the pillow. One button on each side. Make sure to pull the buttons tight to create the pulled look.
Enjoy!

Please share projects that you've made from our tutorials of patterns in our flickr group.

Thanks for visiting our quilting blog!
Have you checked out our patterns recently?
 For more fun updates sign up for Piece N Quilts newsletter.
Leave a comment, we'd love to hear from you.
~Natalia
{Connect with us}
youtubei

Thursday, May 26, 2011

How to properly attach a border or sashing on a quilt {a free tutorial}

The key to having a square quilt is a square border. You must properly attach all borders and sashings to ensure a square quilt.

First, measure, measure top of the quilt, the bottom and the center.
They should all be the same size but often are not. When they are not you will need to take an average.
Next, after you have cut borders to the proper width, you will cut them to the proper length. Since my quilt is 8 1/2" I will cut the right and left side borders to 8 1/2".
Lay the borders over right side on the quilt and pin, I will generally pin every 6" depending on the quilt size.
Sew using 1/4" seam allowance. 
Press. First you will press on the wrong side of the fabric, as shown below, to set the seams.
Next you will open it up and press.
After pressing you will measure again. First measure the bottom. Mine is measuring 11 1/4"
Next, measure the center, mine is again measuring 11 1/4"
Last measure the top, mine is again measuring 11 1/4". 
Now cut your top and bottom borders. I will cut mine 11 1/4".
Flip the border fabric over, right sides together and pin to quilt top and bottom. Again, pinning as needed, generally every 6".
Press, now you have a perfectly square quilt.
As a rule of thumb I always press to the dark.


Since someone will ask, fabric shown here is Daydream Cottons by Cindi Walker for Riley Blake Designs.

Thanks for visiting our quilting blog!
Have you checked out our patterns recently?
 For more fun updates sign up for Piece N Quilts newsletter.
Leave a comment, we'd love to hear from you.
~Natalia
{Connect with us}


youtubei